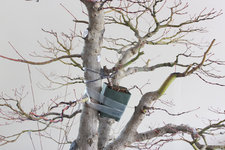
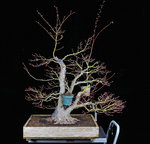
Phase 2: All systems go.
Just completed the second phase and the most critical.
My first step was to create the peg.


The peg was created by lightly carving the end of the branch using a combination of concave cutters and a grafting knife leaving some of the cambium in place.

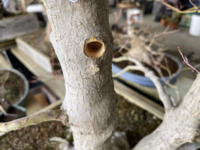
Houston we have a problem. After removing the cut paste and inspecting it carefully, the new selected location had not healed nearly as much as I had expected. If I had gone ahead with this location it would have delayed the grafting process and potentially compromise the entire operation. So time for plan B!

Plan B activated: A second location for the graft was predetermined months ago just in case. This new location now faces towards the right. One big advantage is that now then scar that will be left after I eventually cut off the grafted sapling will face away from us. On the other hand, one disadvantage is that the relocated branch will need to be shortened not using its full length as previously planned.

A small pilot hole was drilled first. Then a half inch hole was made which matched the diameter of the peg. This part is critical as the work needs to be very precise and carefully calculated otherwise the branch will exit at the wrong angle.
I used high strength wood glue to further help secure the grafted branch in place.

Branch now inserted into its new location.

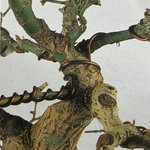
Finally the entire operation is well secured with wire and some grafting tape. It is extremely important that it does not move at all during the entire procedure. I am estimating roughly a 2 year timeframe for this graft to be fully completed.

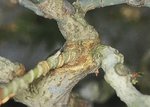
The final step was to cover the graft with cut paste to keep the area free of dirt and water.
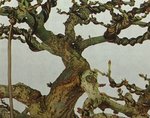
Notice how the pitch of the grafted branch corresponds to the ones of other branches in the tree.
