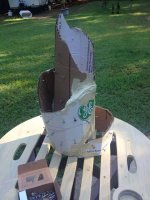
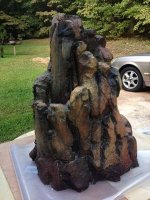
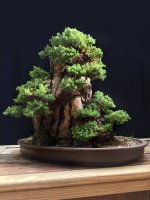
Wooooo! That's a heavy request. First the process takes a few steps: armature making, hypertufa core for rough shaping, topcoat of concrete that has to be sculpted as it cures, adding color, some very watery painting (more like a stain process using exterior latex mixed with at least 50% water), and weatherproofing. There are various concrete additives available on line to give the mix a more clay-like and sculptable texture. I used 1 part portland cement, 1 part sand, and two parts calcium carbonate. I all latex modifier to the concrete mix for adhesion. It's important to revisit and sculpt all along the curing process because different stages of cured concrete yield different effects - for example, applying the thick wet concrete at first is sort of like sculpting wet clay but it must have a very low slump in order to be maliable by hand. As it cures over about a four or five hour period, it becomes harder and more flaky. This allows the ability to form breaks and cracks using trowels. A wet, stiff brush adds texture. Below are some progression photos of the very first one I did. Maybe they kind of speak for themselves.
View attachment 597645View attachment 597646View attachment 597647View attachment 597648View attachment 597649View attachment 597650View attachment 597651


