WEI
Mame
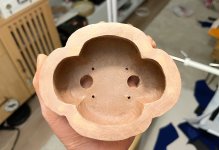
ever since I saw a kowatari pot, I've been thinking about replicating them (which I'm not trying to trivialize - many potters have spent their entire careers trying to mimic the Qing greats). a club member presented on bonsai pot making a few weeks ago and I finally decided to kick off my pot making journey, getting some dark brown stoneware clay at my local pottery studio. I have no prior experience with ceramics and was impatient, skipping a lot of (necessary, in hindsight) steps - e.g. for the wall slabs, I eyeballed four roughly equal chunks of clay and smashed them between two wood blocks, which ended up in 4 different-sized slabs with differing thickness. I managed somehow with only an x-acto knife and a wood rib, but I'll need to preplan sizes and thickness next time and acquire proper tools, like angle cutters and hole punchers and such.
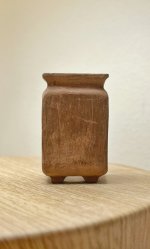
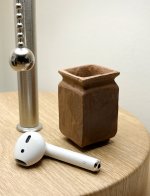
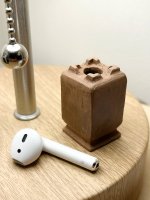
anyhow, here's my first pot, a tiny mame container for a tiny kusamono. airpod for scale. not sure if this thing will survive the kiln since I didn't use slip or texture to bind the wet slabs together. no big deal if this one breaks, but I think the process is slowly let it get to bone-dry, bisque fire, then paint glaze on, then fire again (both at cone 6?)


anyhow, here's my first pot, a tiny mame container for a tiny kusamono. airpod for scale. not sure if this thing will survive the kiln since I didn't use slip or texture to bind the wet slabs together. no big deal if this one breaks, but I think the process is slowly let it get to bone-dry, bisque fire, then paint glaze on, then fire again (both at cone 6?)


Last edited:


