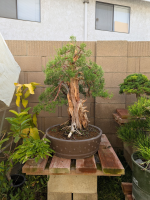
ZombieNick
Shohin
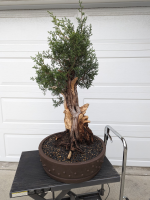
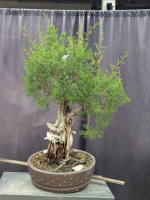
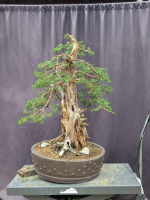
Starting a thread to track the progress on my California Juniper. This is going to be a bit long so I will have to break it up over several posts. This is my first big yamadori and the first tree I had to do substantial carving and rehab on, so I had a lot of help getting it to it's first styling.
October 2022
A bit of backstory, as this was an usual find. I was in Irvine and needed to kill some time, so I looked up the nearest nursery and paid a visit. It was a small mom and pop nursery with the typical garden and house plants. I walked around a bit and got to talking to the owner. I brought up bonsai and he showed me his private collection he had in the back. One of his trees was this large California Juniper, which he said he collected with a bonsai club in the 80s or 90s, under a master who's name he couldn't remember.

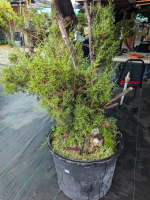
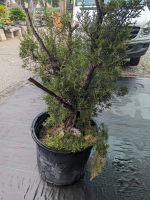
I showed him some pictures of the massive California Junipers we had in our recent club show and he mentioned that he actually had a few more he had collected at the same time, that he would be willing to sell me. They weren't the greatest, but they were old and decently sized, so I took the biggest one. Here is me tagging the one I chose and the other two I left behind:

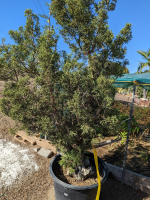
It didn't fit in the car I was driving so I had to come back for it. It was not fun getting this one back. It was extremely heavy and awkward. I had to lay it down and out the back of my Element:
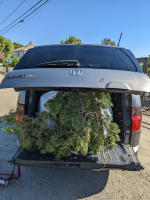
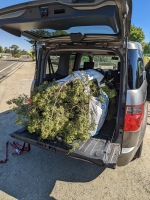
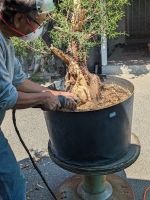
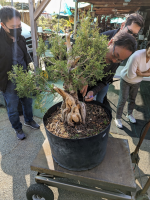
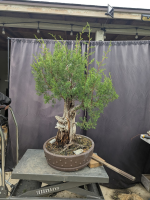
I took it to Bonsai Jidai because I knew I would be working on it there and really didn't have the space for it in it's original state. I looked it over with my teacher and we went ahead and gave it the first chop:
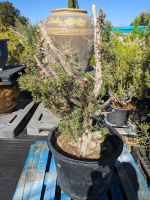


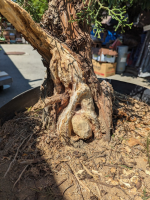
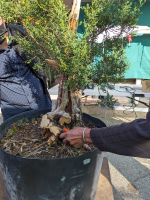
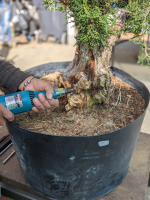
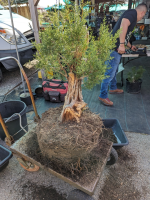
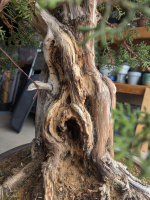
There were a few things we noted. The tree itself is planted low in the pot and the soil level is quite high. The soil itself is some combination, if not purely, the soil it was collected in, which is mostly decomposed granite. My teacher was very concerned with this as he has had bad experiences repotting california junipers which were previously in DG. It didn't look like it had ever been repotted. The lower branches look like they were roughly chopped during collection and they were cut very close to the trunk. There isn't a lot of room to create jins so we'll likely need to carve them down.
I let it rest for a year, where I will continue in the next post.
October 2022
A bit of backstory, as this was an usual find. I was in Irvine and needed to kill some time, so I looked up the nearest nursery and paid a visit. It was a small mom and pop nursery with the typical garden and house plants. I walked around a bit and got to talking to the owner. I brought up bonsai and he showed me his private collection he had in the back. One of his trees was this large California Juniper, which he said he collected with a bonsai club in the 80s or 90s, under a master who's name he couldn't remember.

I showed him some pictures of the massive California Junipers we had in our recent club show and he mentioned that he actually had a few more he had collected at the same time, that he would be willing to sell me. They weren't the greatest, but they were old and decently sized, so I took the biggest one. Here is me tagging the one I chose and the other two I left behind:


It didn't fit in the car I was driving so I had to come back for it. It was not fun getting this one back. It was extremely heavy and awkward. I had to lay it down and out the back of my Element:


I took it to Bonsai Jidai because I knew I would be working on it there and really didn't have the space for it in it's original state. I looked it over with my teacher and we went ahead and gave it the first chop:


There were a few things we noted. The tree itself is planted low in the pot and the soil level is quite high. The soil itself is some combination, if not purely, the soil it was collected in, which is mostly decomposed granite. My teacher was very concerned with this as he has had bad experiences repotting california junipers which were previously in DG. It didn't look like it had ever been repotted. The lower branches look like they were roughly chopped during collection and they were cut very close to the trunk. There isn't a lot of room to create jins so we'll likely need to carve them down.
I let it rest for a year, where I will continue in the next post.


